Doing projects in a time crunch sucks. At least for me. Some people love having deadlines as they “help them stay focused” or some other stuff like that, but however you approach them, there is one common factor for everybody : you gotta respect them.
This leads us to my latest project in a time crunch : A valentine’s day ring box for my girlfriend.
The basic idea would’ve been a box themed around sunflowers (cuz she loves them).
Think about it before you think about it
One thing that will save you a ton of time, that may sound obvious but is not, is to prototype in your head and in your software before you have all the parts and abilities to do it physically.
Test out different designs, mechanisms, components, sketch them out, get the parts dimensions before you buy them, write your thoughts somewhere you will check later, do everything in your power to do the job before you can do it.
Accept the fact that 90% of the information you gather here are going to go in the shitter. There are lots of changes during projects. You may have to change components, designs, make sacrifices, but during this downtime where you can’t process, even a single consideration or tip will help you.
Defining the features
First of all, we need to define what the project is going to be. The main questions you’ve gotta ask yourself are :
- what features do I NEED?
- do I really need them?
- really?
- do I really need them?
- what features could be some nice-to-haves?
- what parts would I need to realize this?
- could I simplify the parts in any way?
- Does its function define its design? is it the other way around?
we’ve got to accept one thing : Time can be traded with money. Sounds obvious right? Surely it hasn’t been for me. At least for this project.
Let’s go through the questions we defined before.
-
what features do I NEED? The non-tradables here are the sunflower theme, and some kind of light-up effect straight out of pulp fiction (minus the lock), which MUST trigger when the box is opened, since the battery must survive the whole date, and I can’t have it turned on 24/7, or it will be dead long before the big moment. Preferably, all that in a compact form factor.

-
do I really need them? The size can be bigger or smaller than expected, it’s not much of a big deal to me.
-
what features could be some nice-to-haves? Some sort of fade-in circuit for the light would be super cool. How do I do this? Arduino? just a circuit? I don’t know. We are just defining the basic features, we’ll worry about that after we have a decent structure and priorities for the project.
-
what parts would I need to realize this?
- could I simplify the parts in any way?
Oooohh boy. Remember when I said that thing along the lines of “trade time with money”? Yeah, I really needed to realize that sooner. I scrapped the microcontroller idea since I feared the current draw would’ve been too much and didn’t want to risk having a pitiful battery life, so we are going raw circuit baby.
One problem : I had some reed switches, but they were the normally-opened ones. You see, the idea I had at the beginning was to have some magnets on the lid of the box, and once they got too far, the magnetic sensor would activate, close the circuit and light up the LEDs. but with a normally-opened one? i need to have the magnet get CLOSE to the sensor when i want them to light up. Or maybe i should… invert the logic? So yeah, i searched up how to do that, found some forums, mentioned some NPN transistors, i had like none of them and only had PNP for some reason and- WAIT. wait. wait.
Normally-closed reed switches exist. They are on Amazon. I can buy them and have them like the freaking day after that, and save days upon days of testing, tinkering and whatevering. Lesson learned. reed switches bought.
-
pro tip : get the ones encased in epoxy. Or get the glass ones if you are like a masochist who likes glass shards and shit breaking for literally no reason at all in your own hands.
-
Does its function define its design? is it the other way around? This one is pretty obvious for my project. It’s a ring box for valentine’s day. We have to make very few aesthetic sacrifices for our function, so the more we hide, the better it is.
Tests, tests, tests
This project had only these parts interacting between eachother :
- the 3D printed components
- the LED strip
- an on/off button hidden inside
- a battery (in my case I used one from a disposable vape, they are so fn good for these kind of stuff)
- the reed-switch
So what now?
You make sure EVERY. SINGLE. COMPONENT. WORKS.
- I modelled the whole box and printed SECTIONS of it (still managed to fuck up some tolerances)
- I tested the LED strip, emulating the current the charge/discharge/step-up circuit would feed to it, making sure it was bright enough
- Checked the voltage of the battery to make sure it was still good, hooked it up to a known-working TP4056 charging circuit to get it up to full charge
- tested the on/off switch and reed switch with a multimeter, and found out the sweet spot for the reed switch was to have the magnet slightly off-center.
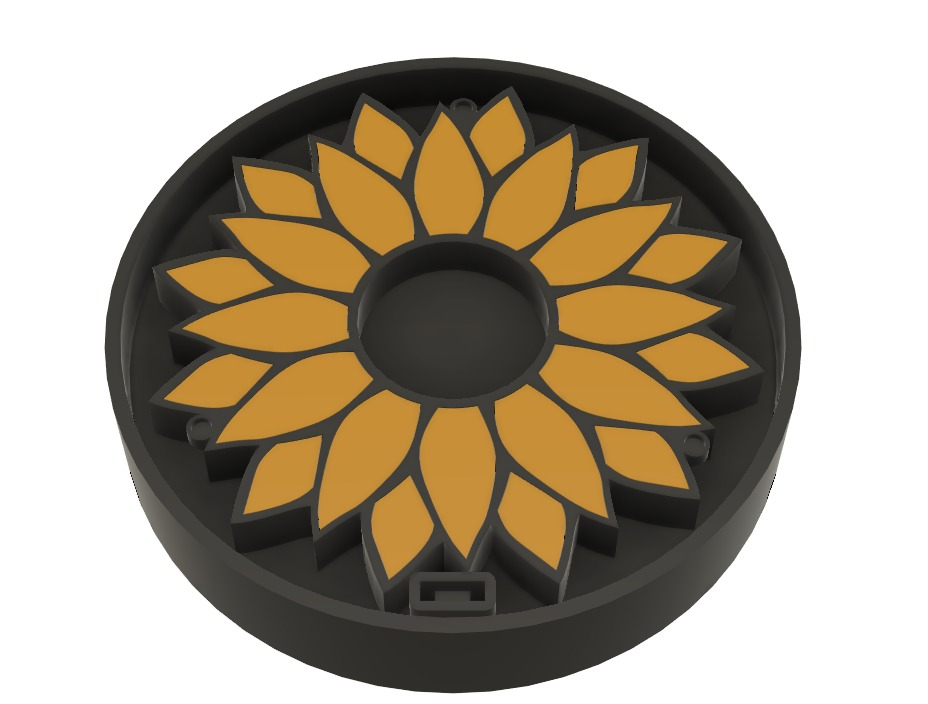
With everything working, we got the final model.
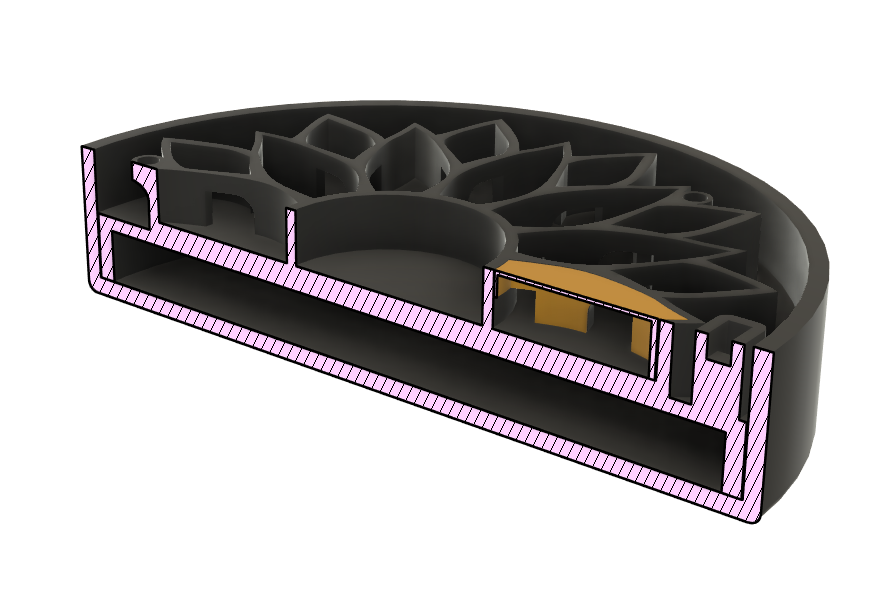
 As you can see below, a little aesthetic sacrifice had to be done to have the reed switch go up to the box’s lid where the magnet resided, and also having another 3 magnet slots to align the lid correctly and have it held shut without any kind of complex and time-consuming mechanism.
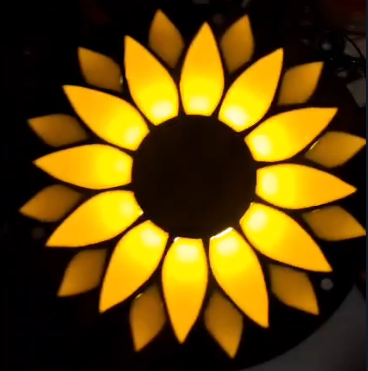
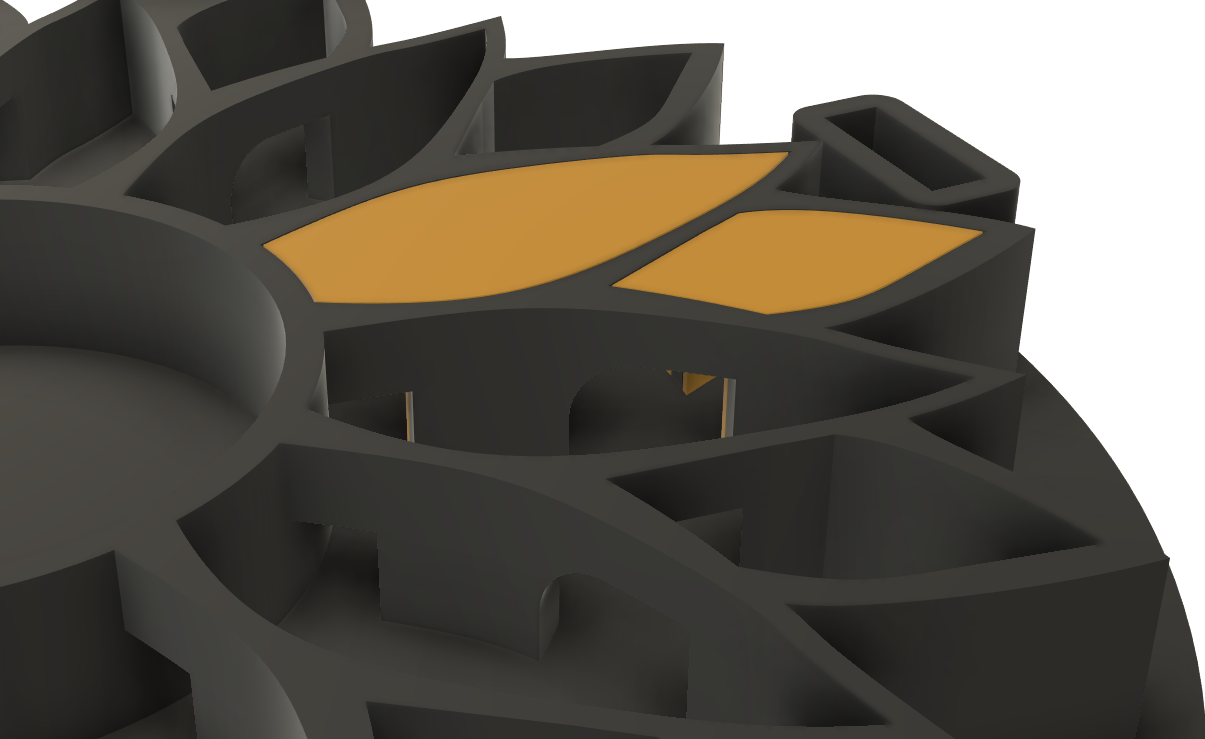
 i also included some light-channels between the petals so that the light could bounce more dimly to the outer petals.
The sunflower section was a separate part from the bottom of the box, so it would’ve been easier to separate them in order to maintain or repair the components inside, not to mention making the assembly a whole lot easier.
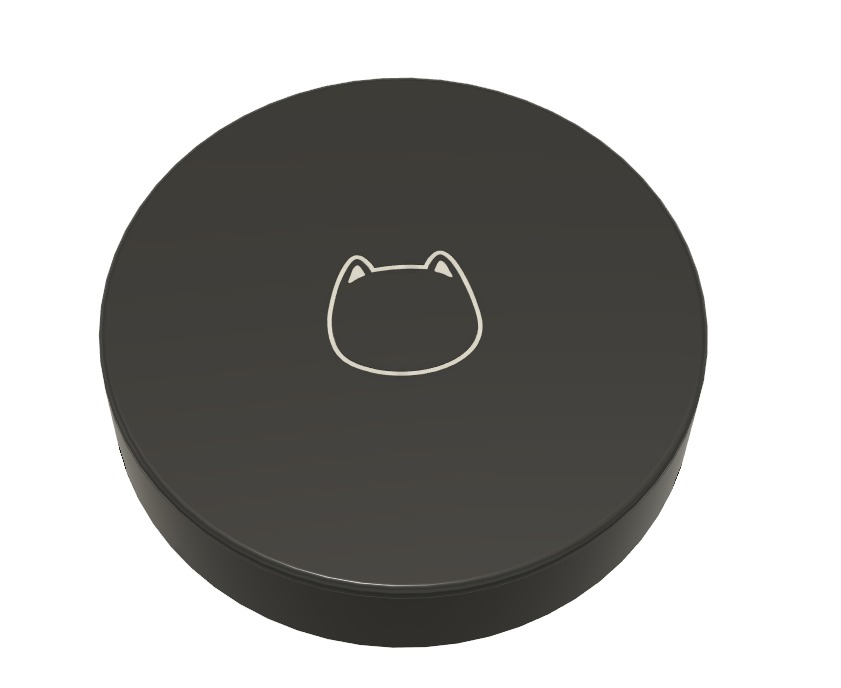
 As you can see, the underside of the box has no kind of fancy wire channels, or anything like that, just a hole for the LED strip’s cables to pass through. It’s a time crunch, no time to be uselessly fancy for details that add no function or visible beauty. Just route the cables and components however you need, fix them with hot glue (or in my case, a 3d pen) and you’re more than good.

Here is the lighting’s end result :